
One of the creative party options that my business, Artee Parteez, used to offer, was to decorate a set of wooden nesting dolls. The results were always really rewarding to see. Because the Babushka doll design is quite difficult to paint, I would usually show the kids some other options and the penguin family was a regular favourite.

I decided it would be a fun challenge to try and make a set of nesting penguins from plastic containers. The process of finding the right-sized containers was more difficult than I thought it would be. But it’s a great way for kids to learn about space and shape and so I recommend putting aside a fair amount of time for this part of the activity and then letting your kids experiment by trying to put different containers inside each other until they find a few that can fit together.

- Choose 3-5 plastic containers that can each fit inside one another.

2. Find a small stone, bottle or piece of wood for the last penguin. I tried out a few different options before I found one that would fit inside the smallest container and had a shape that would work for a penguin.

3. You can either draw or paint directly on the containers, or you draw your designs on strips of paper and glue them on . I went for the second option as I didn’t have enough the right colour paint or permanent markers and it meant I didn’t need to remove the labels from the containers. You can measure the size of paper you will need by lying the container on its side and marking the length that you will need. Then use a ruler to draw a rectangular shape. Once you have cut the rectangle out, wrap it around the container, making sure that there is a small overlap between the ends. Cut off any extra length of paper.

4. Draw your penguins. Try to make sure that you use the full width/height of the strip of paper for each penguin (i.e. make the penguin as tall as possible). Aim to have your penguin be a similar width as the width of your container (i.e. don’t make the penguin too fat or too thin).
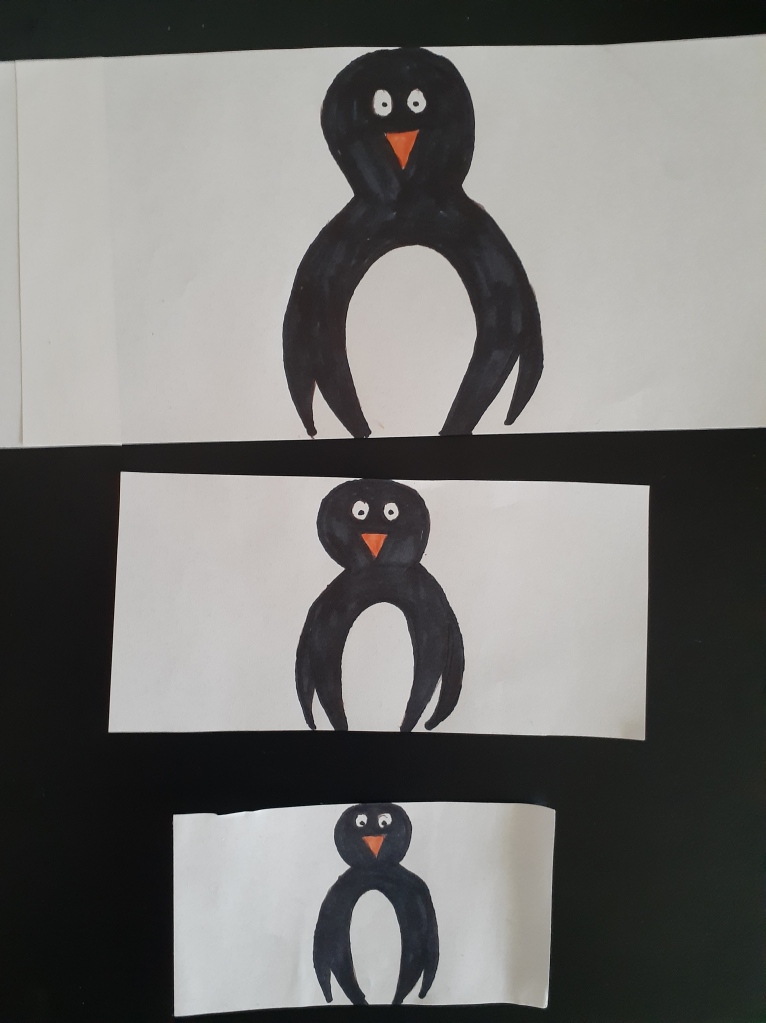
5. Spread glue on the back of each penguin picture. Wrap each picture around its container, smoothing it down as you go to avoid having bumps in the paper. Overlap the ends of each strip.

6. Make your baby penguin. I used a small stone for mine and drew the penguin directly on to the stone. Your set of penguins dolls is complete!

In case you’d like to try a different design on your nesting dolls, here’s some inspiration from one of the creative kids in our Zoom art group who made his into gingerbread men!

